
Premade stickers are nothing compared to the numerous exquisite homemade stickers people opt for. Homemade stickers broaden your creative skills and allow you to have DIY stickers you are proud of and content with. There are specific materials and supplies you require for your homemade stickers, and it’s what we will discuss below.
Materials for Homemade Stickers
Purchasing the necessary supplies to make homemade stickers is the initial step in this process. You must search the internet for information regarding the customized stickers you wish to create. Below are the primary components required to create homemade stickers.
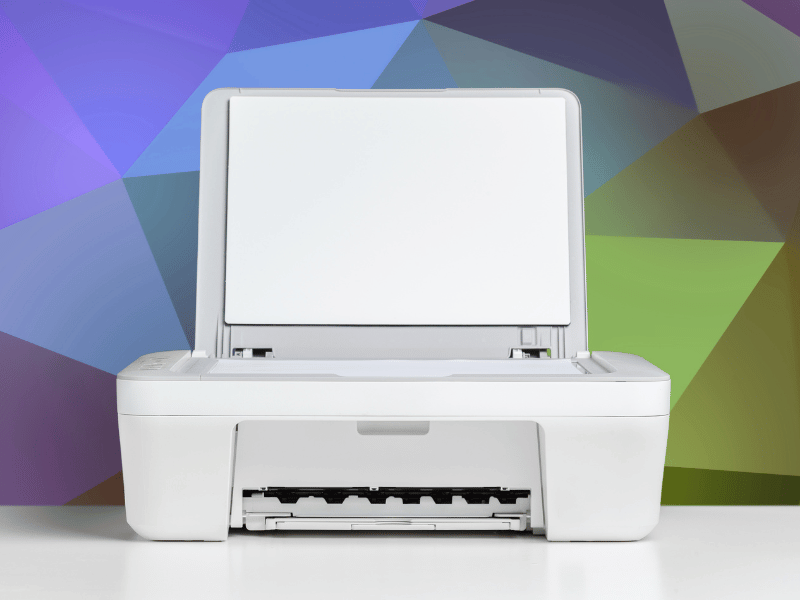
1. Inkjet Printer
The inkjet printer is indispensable for producing high-quality prints for homemade stickers. The printer uses cartridges and liquid ink to correctly print your sticker. Inkjet sticker paper is mainly compatible with inkjet printers. It is imperative that your printer is consistent with the sticker paper you’re using.
2. Design Software
Design software for homemade stickers is numerous, and you can use whichever you prefer to create enchanting and unique customized stickers from your home. The design software has a friendly interface that allows you to create sticker designs using markings, shapes, and images.
3. Sticker paper
When settling on the sticker paper to use, there is the matte, vinyl, opaque, glossy, transparent, and holographic sticker papers at your disposal. For professional stickers, opaque glossy, and transparent sticker paper is the versatile choice, and the stickers are a full replica of the design you made on your computer. For chief quality concerns, you must avoid matte sticker paper.
4. Computer
A computer helps design your stickers’ different styles and designs. The computer allows you to install design software that you will navigate and manage to create something great. For unique and outstanding designs, ensure your computer is up to date with the required tools.
5. Cutting Machine
A cutting machine is required to cut stickers to achieve the desired shape properly. You can craft the stickers with scissors if you do not have a cutting machine.
6. Glue
Occasionally, one might decide to use different papers to create homemade stickers. If it’s not sticker paper, chances are it will not stick on surfaces unless you use glue. Glue makes it easy for you to create customized stickers relying on different papers making your stickers memorable and unique.
How to Make Homemade Stickers
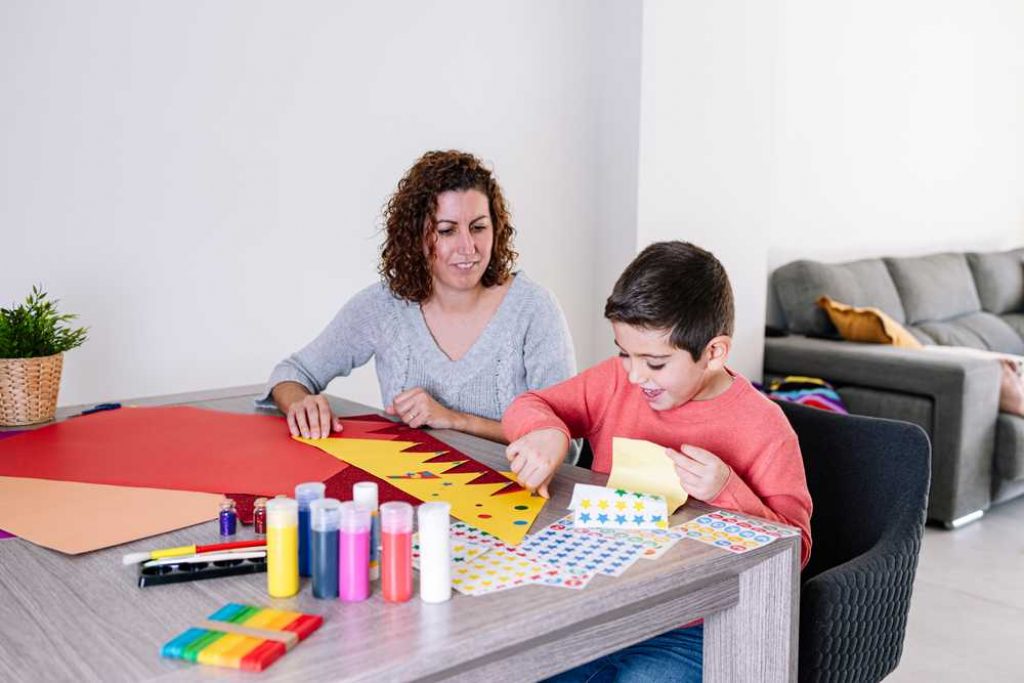
DIY stickers are easy to make if you are passionate about creating something from scratch. You create handmade designs that you will transfer into the computer to color and make some final touches before printing. The stickers may take a while to dry, depending on the heaviness of the ink. It’s understandable why you might be antsy about them but does not rush them, as good things take time.
Anyone interested in making homemade stickers can even without the required skills as graphic design programs are out there to assist you. Sticker shops provide countless pre-designed stickers that you can arrange to create a whole design for a beautiful sticker.
5 Easy Ways to Make Homemade Stickers
1. Label paper stickers
The label sticker paper is an excellent choice for your homemade stickers as it is easy to draw, paint and print on them. Here is how you quickly make your customized stickers.
- Come up with sticker illustrations and draw, paint or print them on the label paper. For ample space when cutting, you must leave 1cm between the different paintings on the paper.
- Cut around the designs with 1-2mm space representing the border and get ready to take the sticker off.
- Gently lift the sticker from scratching on one corner, then pull the paper upwards.
- Place the sticker on your preferred surfaces and keep it away from water as the stickers are not waterproof.
2. Glue stickers
- Design the different stickers you want to create, and you are at liberty to use markers, crayons, and other drawing materials to achieve your desired designs.
- Cut out the stickers using a pair of scissors, and for a decorative touch, scrapbook scissors will do.
- Make homemade glue to bind the stickers to surfaces. The adhesive is a mixture of plain gelatin, sugar, drops of your preferred flavor, and boiling water whisked together and stored overnight in the refrigerator in an airtight container.
- Paint the back of the stickers with homemade glue and let them dry. Once dry, you can store or apply them on surfaces.
- Lick the ready stickers on the back and press them against the surfaces you want them on.
3. Clear tape stickers
This is a perfect method for waterproof homemade stickers and is suitable for those interested in making a few stickers and hence not needing vinyl sticker paper that one can only buy in bulk.
- Create illustrations on matte paper and when done and moving to the cutting step, place transparent tape on the designs and press it to ensure the tape adheres to the sticker. Cut the sticker in the precise shape it’s in.
- Using a nail or penny, rub the front surface of the sticker for the tape to bind with the ink until it becomes one.
- Pull the sticker from the matte paper, and this will provide a sticker with a glossy and sticky side.
- Run the sticker underwater to see how reliable the tape is, and you will notice no damage on the sticker. Keep the sticker aside and let it dry.
- Use the sticker as you initially planned to and have some peace knowing it may not be 100% waterproof, but it somewhat is.
4. Printed stickers
With a printer at home, one can create good homemade stickers that are of high quality. Here’s how you achieve this.
- Design your sticker design on paper, on your computer using Microsoft word, which is excellent for novices or Adobe Creative Suite for professionals, and at a cost.
- Prepare the printer for printing by turning it on and testing it to ensure prime functionality.
- Go to the print settings and select the highest quality setting to ensure that the stickers are not poorly made.
- For a trial run, print one sheet first to scrutinize its quality before proceeding with other sheets. Ensure the printed sticker matches the original design.
- Separate the stickers from the sheet and be slow and sure when cutting them to prevent any damage.
- Stick the stickers on your surfaces and enjoy the charm they bring to objects.

5. Using contact paper
The contact paper is translucent and easy to access, making the whole process of making homemade stickers less strenuous. Let’s find out how one can make DIY stickers using contact paper.
- Using sharpies, draw your desired designs on the contact paper, preferably the shiny side.
- Cut the stickers being cautious around the borders of the invention to ensure you do not cut through them.
- Peel off the backing of the paper and stick your customized sticker on the surface of your choosing.
Do not settle for the standard stickers on the market when you can create your top-notch homemade stickers with the above simple methods at your allocation. For further information about making homemade stickers, the internet is at your conveyance with extra details. Let’s create unique and high-quality stickers from the comfort of our homes without any shortcomings.
Related Articles:
How to Make Stickers With Tape and Parchment
How to Make Stickers for Tumblers