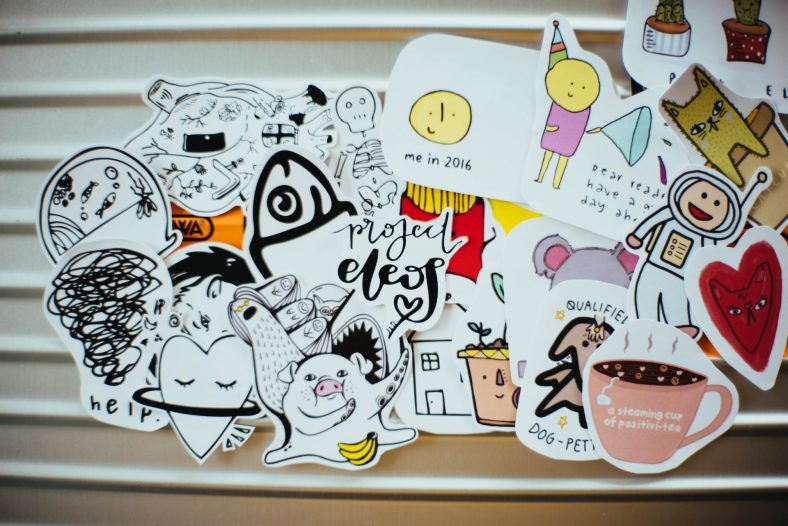
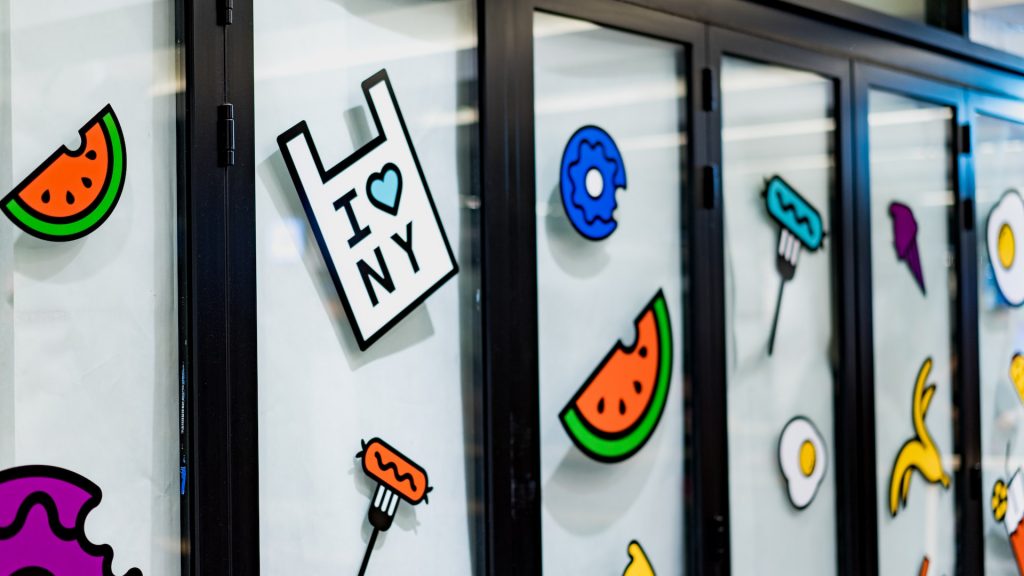
Are you wondering how you can make stickers with tape and parchment? This tutorial will guide you on how to make stickers with tape and parchment. It will focus on the technique for making stickers similar to ones you might find in stores, and it will provide some instructions on how to take care of them and remove them from their backing.
The process of making your very own personalized item using transfers or sticker paper is easy enough that even a kid could do it. In addition to decals, you might see the term “sticker” when buying transfer paper.
The instructions below show you how to make stickers using special paper designed for that purpose;
1. Cut a piece of parchment paper large enough to fit whatever item you are going to decorate. For example, if you want to make a sticker for a glass bottle, cut the parchment big enough for the bottle and cap. If you want to make your sticker on a mug, just cut the sheet so that it fits the bottom and goes up two inches from the lip of your mug. Write with a permanent marker what is to go on what type of object, so that there is no confusion later on.
2. Cut a piece of copy paper the same size or a little larger than the parchment. This will be your transfer paper.
3. Using your iron on its highest setting, place some parchment paper on top of the piece of copy paper and iron it for 30 seconds. The surface should become glossy and stiff. Let the paper cool for about ten minutes before continuing.
4. Place another piece of parchment on top of your glossy surface and then place the item you want to decorate facing down onto the parchment. Be sure to get all four corners well-adhered to avoid peeling later on.
5. Slowly and carefully lift the item up, and apply pressure on the parchment with your fingers. This should create a small crease in the paper. Turn over the item onto your glossy paper, careful not to crease it any further. Using a piece of scotch tape, adhere it to your item so that none of the shiny sides gets exposed while being affixed to the parchment paper.
6. Peel off the second piece of parchment so that your product is completely covered by it and then iron on as before for 30 seconds at high heat, removing it after cooling for 10 minutes. Remove any wrinkles that might have developed while working on one area (e.g., if you lifted one corner too much).
7. If you have a hard time peeling the parchment paper off, use your fingernail to gently rip it off of your item. Don’t worry if some of the paper does not come off with it. At this point, you can also fill in any areas on the back where the decal might look patchy or non-uniform by touching up with a permanent marker over exposed areas of transfer paper and parchment paper. Some people claim that heat is not necessary for a successful transfer. Some say that ironing heats up and melts the adhesive, while others say that ironing causes the glue to soak into the parchment so it can stick better after removal. You can try both methods to see what you prefer.
Transfer paper should be air-dried. You can either put it in a sunny window or in an oven at its lowest setting (around 100F) overnight or for as long as it takes until no more moisture is evaporating from the paper. Some people also use a hairdryer. You can find transfer paper at any office supply store, and it might be available online for cheaper prices than in stores if you buy enough of it and intend to decorate items with more than one color on them (such as a mug with several decals on it).
Finally, always be sure to clean up your work area. If you are letting the paper air dry, you can easily do this by rinsing the surface with a spray bottle of water once it is dry. When your sticker is done, it should still have some glue on it. You can save this glue by putting fresh parchment paper over the sticker and ironing it on all four sides of your sticker again in forty-five seconds or so at a high setting.
This will darken the glue in areas where it has dried, leaving patches where there were none before and making it easier to remove stickers from their backing. The parchment paper may be used again for more stickers or even other items if you wish.
Related Articles:
How to Make Stickers from Your Art
How to make stickers at home on a budget
What Kind of Printer Do I Need to Make Stickers?