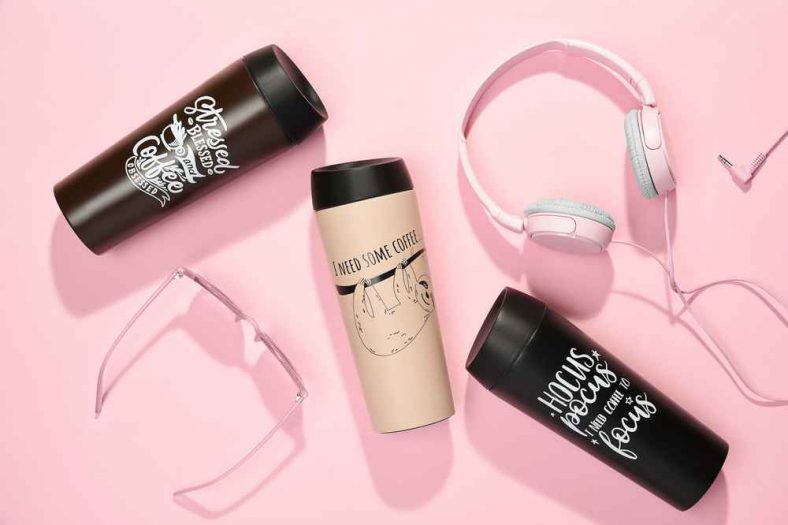
Many people often use tumblers to drink their coffee. Coffee is either drunk hot or iced, typically with milk and sugar. But many people also like to decorate their tumblers as well since not everyone drinks coffee the same way.
In order to do this, it’s important that you know how to make stickers for tumblers because many individuals want to put them on the outside of their cups in order to give them a more unique look. This article will provide tips on how to make stickers for tumblers.
Step 1: Prepare your sticker paper
The first thing you want to do is prepare the sticker paper that will be used for the stickers on the tumbler. You can start by cutting a piece of cardstock paper or thin cardboard into a square shape.
Spray it with adhesive spray and then put a piece of foil or colored vinyl onto it, covering the entire front side of the cardstock so the area will be ready for stickers. You should also use tape on all four sides so that the shiny surface doesn’t stick to other surfaces while you wait to use them later
Step 2: Design and make your stickers
You want to make sure you have a design for the stickers that are going to be on the tumbler. You can either get a commercial design off of the internet or you can draw your own, but it’s all about personal preference when it comes to this. The key is that you will want stickers that are going to stand out and thus, will likely show up well after they’re set on your tumbler.
Step 3: Cut out the sticker shapes
Once you have made a template for your stickers, you can begin cutting them out of plastic or paper so they’ll be ready when you need them later on. Remember that since you’re making stickers for tumblers, you need to make the shapes small enough so they can fit on the surface of the cup. You want to make sure they are large enough to be seen when they’re applied on the tumbler and that it won’t cover up anything important.
Step 4: Get your adhesive ready
While you’re cutting out your shapes, you also want to make sure that you get your adhesive ready as well so that it will stick to the tumbler. You can go ahead and mix some strong craft glue with water so it’s a little bit runny, or you can purchase some adhesive spray. If you do so, make sure the surface of the tumbler is clean before making use of it. Otherwise, it won’t stick properly and may just fall off the tumbler later on.
Step 5: Apply your stickers to the tumbler
When you are ready to apply your stickers to the tumbler, make sure that they’re sticking well as you don’t want them to fall off easily because this will be bad for drinking out of. You may want to test them out on a smaller tumbler cup first to make sure they’re sticking properly before applying them to the one you’ll actually be drinking out of.
Step 6: Enjoy your custom tumbler!
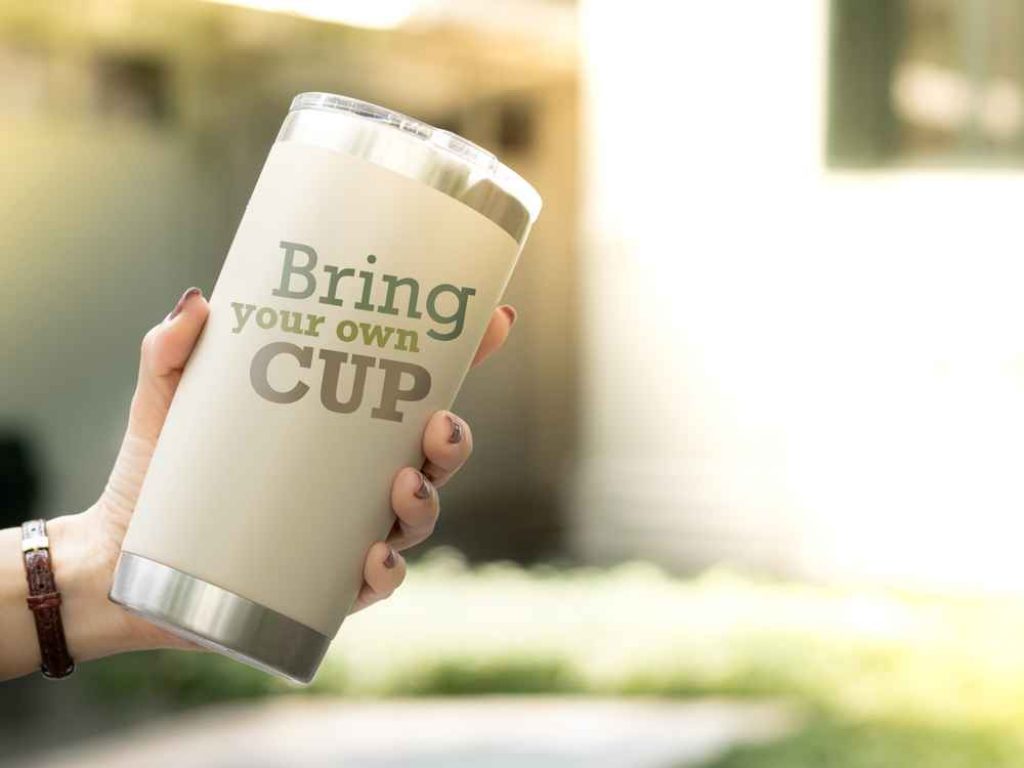
You’ve now successfully made stickers for tumblers, so you can enjoy your custom tumbler in the end. There are many different ways you can customize a cup and personalize it while it’s still functional and useful as well. Be sure to see all of the different ways you can use these stickers so that they can be used properly for various types of cups.
In conclusion, the key to making these stickers is that you can use an adhesive spray to make them stick better to the tumbler and that you’ve made the sticker shapes large enough so they can be seen.
You want the tumbler to look nice while still being functional, but since it’s only used for either hot or iced coffee, it’s not necessary for it to function properly as long as the sticker designs are attractive.
Related Articles:
How to Make Stickers With Tape and Parchment
Best 3 ideas to make waterproof stickers for water bottle
7 Best Cheap Ways to Print Custom Stickers at Home

