Stickers are awesome and fun to add color and personality to various surfaces. They are among the most versatile and cost-effective methods of getting the word out. Making your own die-cut stickers allows you to display your creative side and stand out from others instead of buying boring premade ones from vendors.
How to Make a Custom Sticker at Home
Do not be in a hurry to make your DIY stickers immediately. Begin by doing an online search for custom sticker designs while paying attention to the things you like or don’t like about the different designs.
Once you have identified the right design for you, sketch it out on a piece of paper or your computer. You don’t have to draw all the details. At this point, you want a basic idea of how your design will look before making the sticker. Ensure your design is small enough to fit on an 8 by 11-inch piece of paper. Create your design using an image editing software such as photoshop or illustrator, or you can also go for a free image editing software such as GIMP.
Once you’ve created an excellent design, click the print preview button to see how your stickers will print. You should then load your printer with a sheet of sticker paper and print your design from the editing software.
Once the design is printed onto the sheet of sticker paper, apply an over-laminate and cut out the laminated stickers from the sheet of sticker paper using a pair of scissors or craft knife for straight cuts. Finally, peel off the backing on your stickers to use them.
Items you Need to Make Custom Stickers at Home
DIY stickers are easy to make so long as you have the right equipment and materials. For this project, you will need a computer, a suitable sticker or label paper, a printer compatible with the stickers, and a pair of scissors. Your computer should be equipped with software that lets you design or import images for printing.
When choosing the right paper for your DIY stickers, choose the one containing two sheets of paper. The front sheet should have an adhesive backing that easily peels off the paper behind and sticks on desired surfaces. While there are plenty of DIY sticker paper options, go for sticker paper as it is a cheaper, less weatherproof, permanent option that offers extra protection to your stickers.
The items above are just the basics. As you get more into making stickers at home, you will need to add more items to the list.
7 Best Cheap Ways to Print Custom Stickers at Home
#1 Design the Stickers
When it comes to your own custom stickers, the sky is the limit in terms of design. Depending on your preference, you can sketch using colored pencils, crayons, markers, or pastelce. Ensure that you’ve chosen non-washable sketching tools.
Once you’ve identified the suitable sticker designs, draw them on a piece of paper such as a notepad or loose-leaf paper. If you’re using a computer, design your custom stickers using image editing software you are familiar with, including GIMP, Paint.NET, and Photoshop Express.
#2 Sticker Paper
Choosing the right printable sticker paper is crucial if you want professional quality DIY stickers. Opaque glossy sticker paper, white printable vinyl sticker paper, and clear glossy sticker papers are some of the best, cheapest, and readily available sticker paper options. Avoid matte stickers if sound quality is a top concern.
You can also make glossy stickers at home by printing an image on sticker paper. If it’s not shiny as you want it to be, consider adding a layer of packing tape. The tape will also help protect your sticker from moisture and other elements.
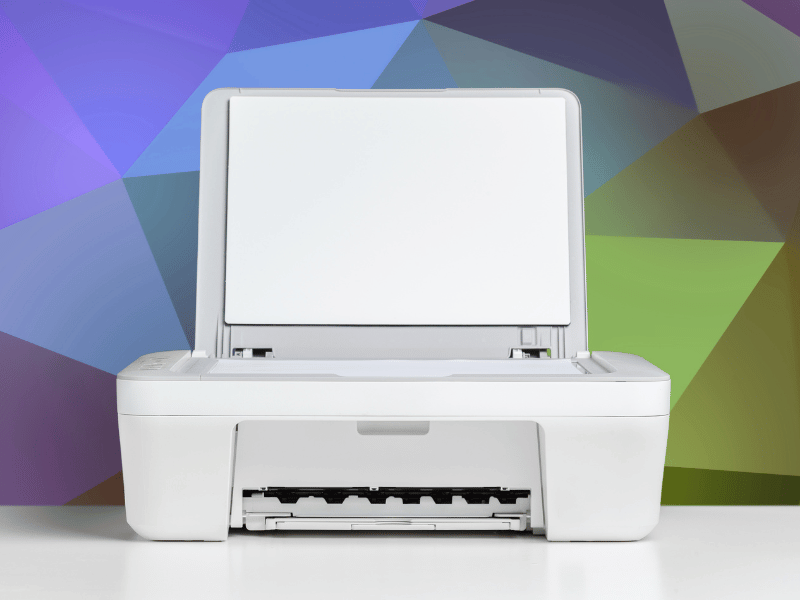
#3 Printing
Choose your sticker papers based on the type of printer you have. For example, laser jet printers need unique sticker papers, while inkjet printers need special inkjet sticker papers. Typically, sticker papers are thicker than regular papers. Therefore, when loading them into the printer, place one sheet at a time and use a single-page feeder if available.
#4 Creating the Adhesive
Creating the adhesive that will go on the back of the sticker is quick and easy. To do this, you need to create a mixture of glue and vinegar. For each scoop of vinegar, add two scoops of glue. A small amount of glue and vinegar mix can go a long way, but you can store whatever is left in a jar for future use.
#5 Spread the Adhesive
Once you’ve created the adhesive, spread it on the back of the prints using a brush. Ensure that the side with your designs is on the bottom. Give the adhesive a few minutes to dry. Once dry, put the paper under something heavy to prevent it from crinkling.
#6 Cutting the Stickers
Cutting the stickers is probably the easiest step. Since the stickers are almost done, cutting them out marks their final preparation step. Ensure that the stickers are precisely cut so that they can all be uniform. Use a pair of scissors if you don’t have an X-acto blade for better and more precise control over each cut.
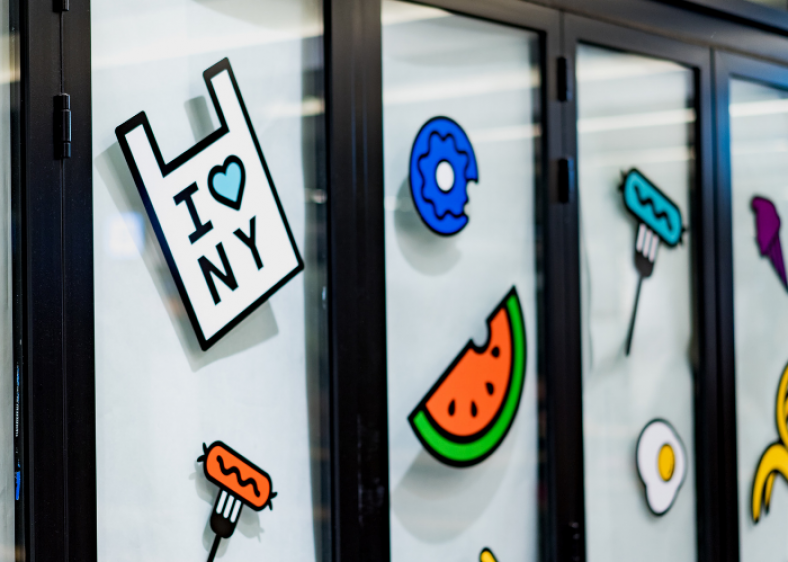
#7 Application
Now that your DIY sticker is complete, adhere to the desired surface to whatever surface you’d like. You should note that homemade stickers are a little different from the typical peel-off types you’re used to in terms of how they work.
Usually, DIY stickers are not as sticky as peel-off types when dry. They are only activated when wet. Mist the back of the sticker using a spray bottle and stick it immediately to the chosen surface once it is completely covered. Be careful not to oversaturate the sticker, or it will fail to adhere to the surface.
Related Articles:
Ideas to Make Stickers for Hydro Flask
What Kind of Printer Do I Need to Make Stickers?
What Materials Do You Need To Make Homemade Stickers
Conclusion
DIY stickers are fun and easy to make. They offer users the best way to customize their products or take on a new arts and crafts project. DIY enthusiasts can also impress their friends and clients with these homemade professional embellishments, thanks to the variety of products they can use to print stickers. While there is a lot to learn, the custom stickers-making process is straightforward so long as you find the right paper and compatible printer.