Thinking about getting into the water bottle sublimation printing business, or perhaps you’re doing this as a hobby? Well, you’ll need basic skills on how to sublimate on water bottles. If you’ve got the right set of kits and materials (water bottle), we should get started on what you need to do next.
How to Sublimate on Water Bottles?
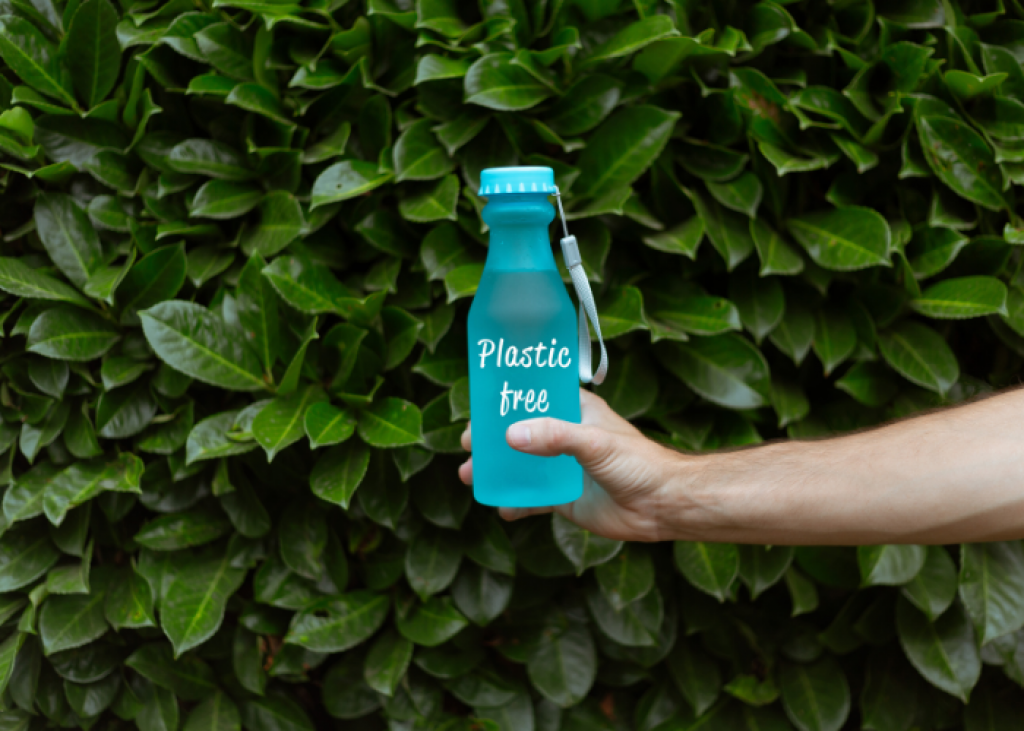
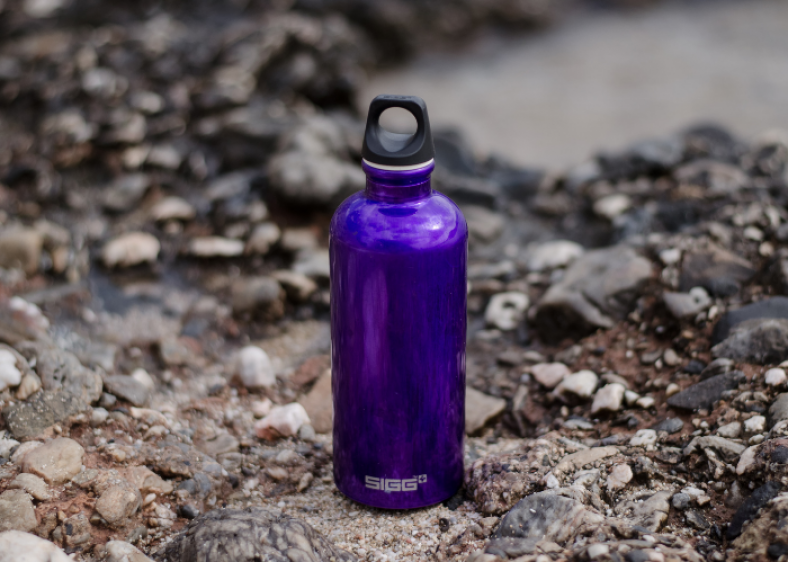
Oftentimes, metallic water bottles are used for this process. And this is because they can handle the pressure and heat from the mug press. To get started on how to sublimate on water bottles, consider these steps:
1) Design the image. 2) Resize it to accommodate the size of the water bottle. 3) Click the printer button to activate settings. 4) Choose a printer and then print the image. 5) Crop the printout. 6) Align on the bottle and then press it with the mug press machine. 7) Unwrap the water bottle.
Necessities:
- Water bottle blank
- Heat tape
- Sublimation ink
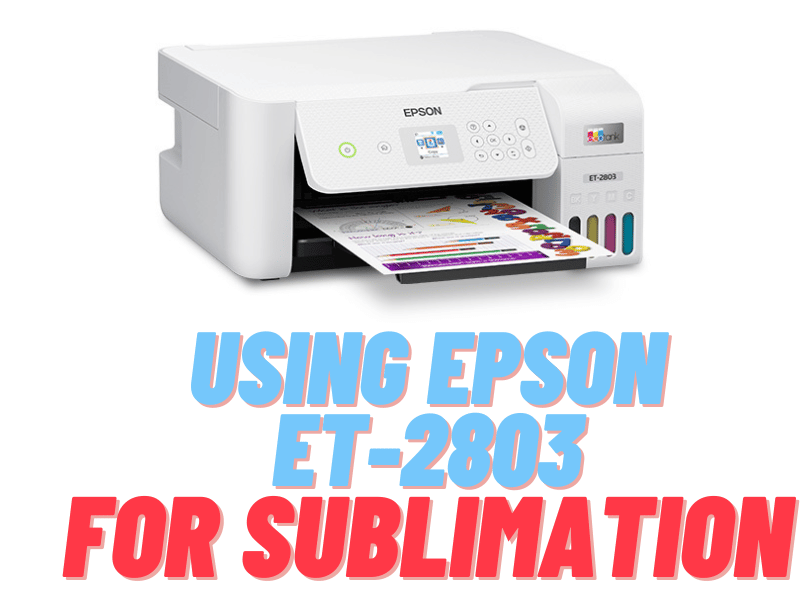
- Sublimation printer
- Vinyl transfer tape
- Mug press
- Settings
- Time – 60 seconds
- Temp – 400oF
- Medium pressure
- Settings
- Ruler
- Sublimation paper
- Scissor
Sublimation on water bottles process step by step:
- Design:
Launch your design software on the computer and import the image you want to print. If you want to create them from scratch, this can also apply. With your design ready, use the water bottle dimensions to resize it before printing. This will allow your image to fit perfectly on the bottle.
- Print the image and tape:
Click on the printer icon or press ctrl and P together to activate the printer settings. This will allow you to choose the printer you’ll use in this process. Also, you can set the paper source, print quality, and media type.
Depending on the number of water bottles you want to work on, you can set the number of print copies. And without forgetting, select “Mirror Image” before pressing “Print”
- Cut the printout:
Cut your printout along the gridline to remain with a sizeable piece that can fit around your water bottle. You can use the scissors in this step.
- Sublimating:
Using alcohol and a piece of paper towel spray the bottle and wipe off any grease that might be present. Thereafter, place the sublimation printout on the bottle and alight it accurately. Using the heat tape, hold the printout in place with the image facing inwards.
With the settings ready as directed above, wrap your water bottle in a copier paper. And then fit it in the mug press. Press it for 60 seconds under 400oF. and if the image is around the bottle, you can rotate it after 60 seconds, and then press the other side as well for 60 more seconds.
- Unwrap the water bottle:
Peel off the copier paper first and then the transfer paper once the bottle cools off a bit. And you can now appreciate your effort.
FAQs:
Yes but just on water bottle blanks for sublimation. However, the process is very slow and it would take a long time for anything to happen.
Conclusion:
Like tumblers and coffee mugs, the outcome from sublimation printing on water bottles is heart-melting. The image comes out with photographic quality. What’s more, the ink and metal bonds are strong and scratch-resistant. As a result, it’s a durable print that can stand the test of time.

