While sublimation enables endless possibilities when it comes to customization and personalization, it has limitations. And that is, it works best on polymer only. That means you can’t sublimate directly on 100% cotton because the design will come out bad. Also, there’s a color limitation when it comes to material. But thanks to sublimation on glitter HTV, you’ve got endless possibilities now with the limitation being your creativity. Let’s start:
How to sublimate on glitter HTV?

You’ve heard from many sources that sublimation printing on cotton doesn’t come out great. And yes, this is true, because this material absorbs close to 40 percent of the ink living a small fraction for printing. Not anymore, because sublimation on glitter HTV is the new trend with astonishing results.
And here’s how to do it right: 1) Create a design with the help of design software. 2) Print the design and then cut it out. 3) Also, cut out the glitter. 4) Trim the sublimation design. 5) Pre-press the shirt. 6) Align your designs. 7) Sublimate the glitter first. 8) Heat press to transfer the design on the glitter and complete the design.
Requirements:
- Press Machine
- Heat Tape
- Shirt
- White glitter HTV
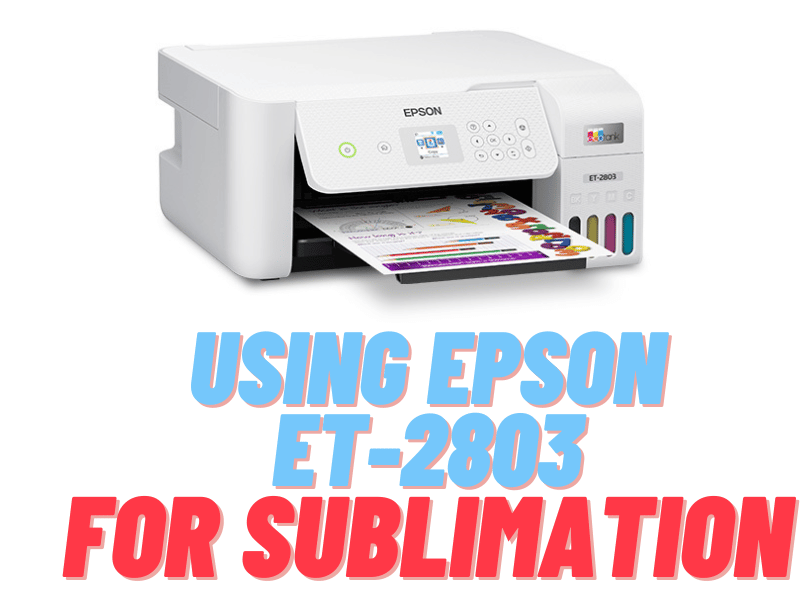
- Dye Sublimation printer
Sublimation onto glitter HTV process step by step:
In this guide, we’ll look into sublimation onto white glitter with the help of a circuit press. And different from other techniques, we will create a sublimation printout, and then cut out the glitter of the same size.
Getting Started:
- Create a Design:
Using the Cricut Design Space in this step, create a design you wish to print on the material through sublimation. With the design ready, choose the appropriate size, and don’t forget to click “Flatten”. It’s going to turn your design into a print and then cut. Also, it will turn your design into one layer no matter how many layers it has.
And before you click print, go and add an offset layer through your computer. By doing so, you’ll be able to incorporate glitter into your design. Thereafter, change the setting from print cut to basic cut.
Further, you can fine-tune your design depending on how you want your print to look after sublimation printing. But most importantly, the glitter layer and design layer must maintain the same size.
- Print and Cut:
Now you can print out the design layer and cut out the glitter layer. For this two to align well on the material, you’ll need to crop the design layer with scissors.
- Preparing the material:
In this case, you’re using 100% cotton. Using the heat press at over 375oF, heat and eliminate the moisture from the surface. About 5 seconds is okay
- Aligning your design on the shirt and transferring:
Place your design nicely and upright. And thereafter, tuck it down on the material by pressing it for 2 seconds at 375oF. With the glitter in place, now place the design sublimation on top. Make sure the layers align well.
To prevent ghosting, use heat tape to hold in place the design. Afterward, apply the parchment paper and press it at 375oF for 1 minute. At this point, your sublimation print is ready.
Conclusion:
As easy as such, you can create sublimation on glitter HTV. And thanks to this technique of sublimation printing, you’re not limited by the color of the fabric. Whether it’s bright or dark, the image will come out clear and colorful. Lastly, there are tons of other options of glitter HTV besides white, so feel free to try them out.


