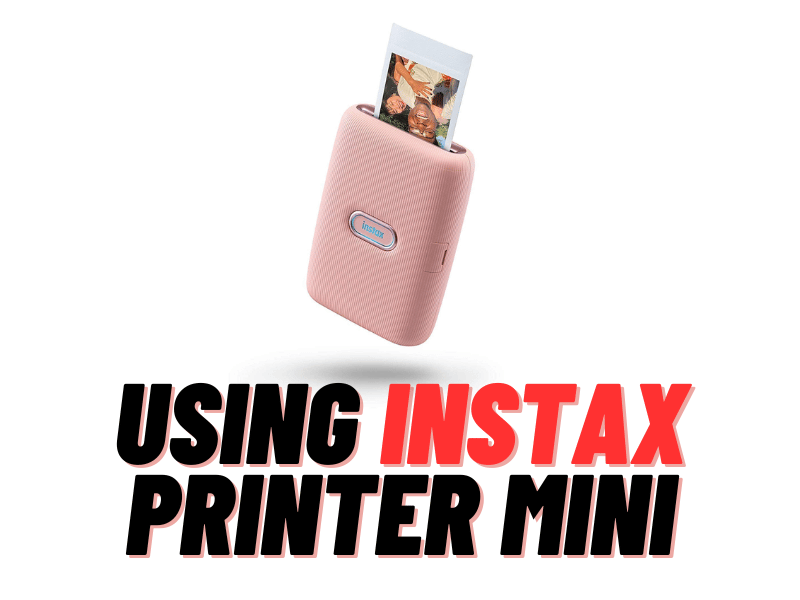
Sublimation is a process of converting from a solid to a gaseous state, or the other way around, without first converting to liquid. In sublimation printing or dye-sublimation printing, the solid ink on the transfer shifts into a gaseous than a solid-state again as it transfers onto a fabric. You can use this process to make crisp images on T-shirts, ball caps, and other items.
Things You’ll Need:
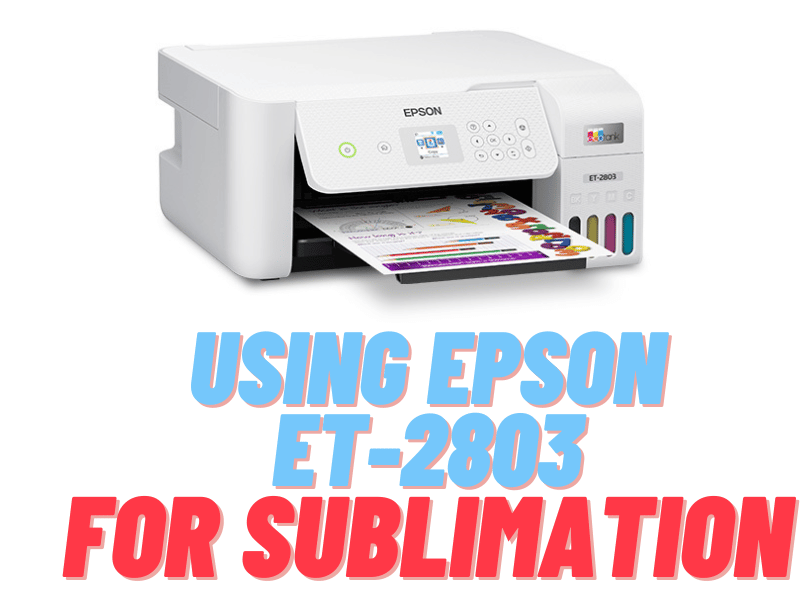
- Sublimation printer
- Heat transfer paper
- Heat press machine
- Foam
- Scissors
- Heat tape
- Teflon paper
- Hat
- Transfer
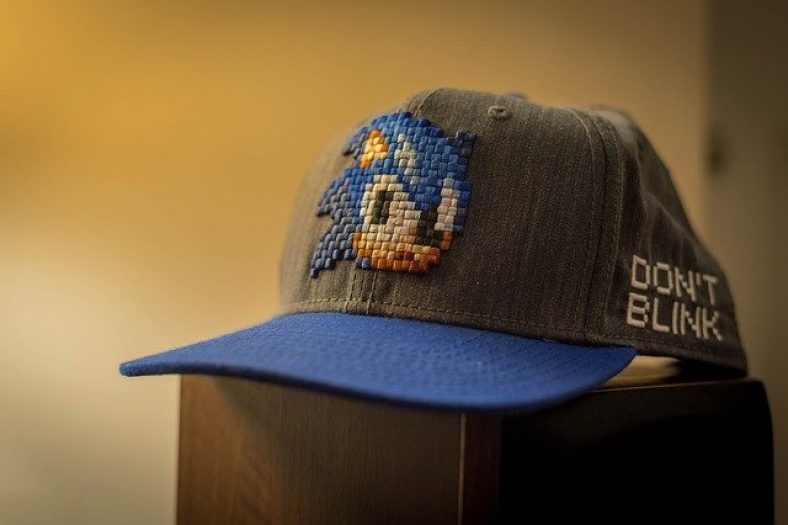
Sublimation Cap Process:
- Cut a piece of foam that is just a bit larger than your heat transfer but smaller than the paper it is on. Tape all four sides of the foam to the platen of the heat press. Taping on all four sides ensures that the foam will not move.
2. Lay a sheet of Teflon paper over the foam on the platen. Tape all four sides of the paper down to secure it in place.
3. Reach inside the cap and flip up the sweat guard. This ensures that the pressure from the heat press is distributed evenly along the transfer location.
4. Set the cap on the platen. Center the cap according to the location for the transfer. Make sure the brim is safely away from the heat to prevent scorching.
5. Lock the cap in with your heat press’s lock mechanism, such as by folding down the lock. Confirm that there is good tension on the location and the area is smooth without wrinkles.
6. Brush the lint from the cap at the transfer location, where the image transfer will be applied. It is important to do this step even if no lint is can be seen by the naked eye.
7. Cut the transfer paper wider than the transfer image. Tape the transfer image to the cap on the ends (not on four sides as in Steps 1-
8. Lower the press down and press the “Start” button. Do not lift the press until the process has ended as indicated on the timer on the press. Release the press and unlock the cap. Remove the cap and confirm the image is correct.